Deploying Frontity to Vercel with GitHub
I’m a big fan of Frontity, and one of the things I really like is the ease of hosting the frontend. I chose Vercel out of the options available, and could not be happier with the choice. But one thing that I could not find much information on was deploying the site to Vercel with GitHub.
That’s why I’m writing this article, so that you can learn to deploy Frontity to Vercel with GitHub. When I first tried it, I got an error that the build could not be completed because it did not find a public folder. So I gave up for a bit, and just went back to deploying with the CLI. But today I sat down and tried for real.
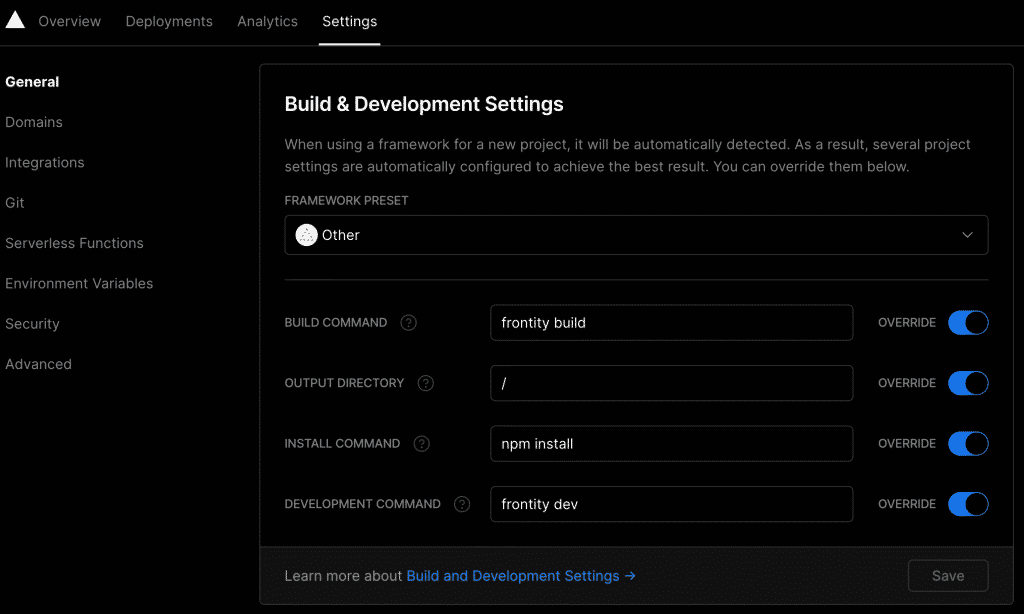
After searching for a while in the community, I found nothing. So I decided to just try my luck. I have been messing around in the project settings for Vercel before, so I started there again. Under the general tab of the project settings, I found “Build & Development Settings”. Here I entered the frontity build commands, instead of the default ones.
And that did the trick, when I added a new commit to my main branch, Vercel made a new production commit, and it was deployed successfully. So here are the steps you need to take to make it work:
Change the Build & Development Settings
First, you need to change the Build & Development Settings, you can do this in the project settings, under the general tab. Switch the button on the right of every field to override, and then enter the following for each field:
- Under framework, select “other”
- Build command -> frontity build
- Output directory -> /
- Install command -> npm install
- Development command -> frontity dev

When you have changed all the settings, click save.
Connect Vercel to Github
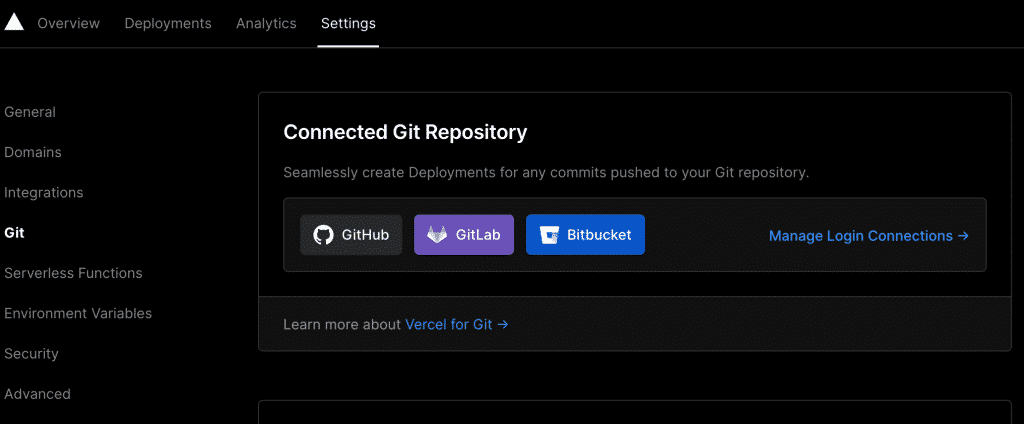
The next step is to connect Vercel to GitHub, you can do this in the project settings under the git tab. Just select GitHub, and go through the steps and connect your account.
Before you click, it should look something like this:

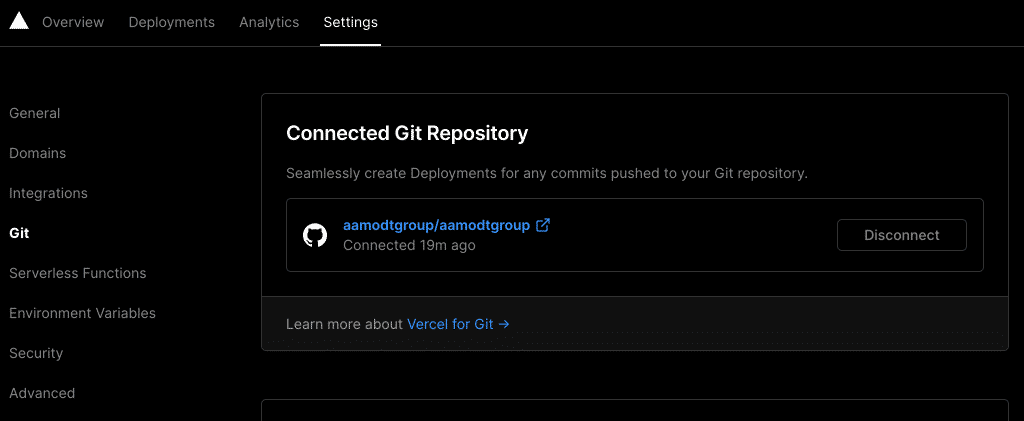
And after you have gone through the steps and selected a repo, it should look like this:

PS! If you want to deploy from a GitHub organization, you need Vercel Pro.
Make a commit to the repo
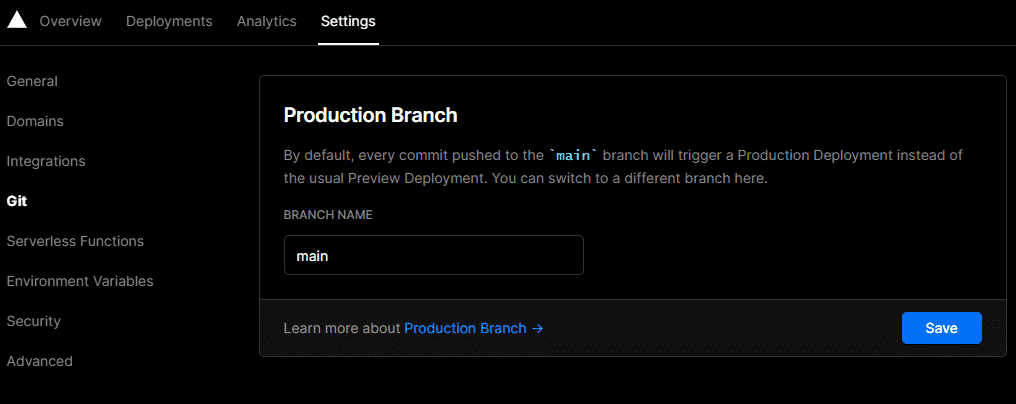
Now all that remains is to make a commit to the repo. By default, Vercel sets the production branch to “main”, so if you use something else, like for instance “master”, you need to change that in the project settings as well, under the git tab.

So now, every time you make a commit to the production branch, Vercel will automatically make a production deployment with that brach. And if you want to preview something that you have done, you can create a new branch, and commit it. Vercel will then automatically make a preview deployment of that brach.
PS! Make sure that you include the vercel.json file in the repo, the deployment won’t work without it.
{
    "version": 2,
    "builds": [
        {
            "src": "package.json",
            "use": "@frontity/now"
        }
    ]
}
So that’s it, that’s how you deploy Frontity to Vercel with GitHub. If you have any questions, feel free to reach out to me, either by email or Twitter.